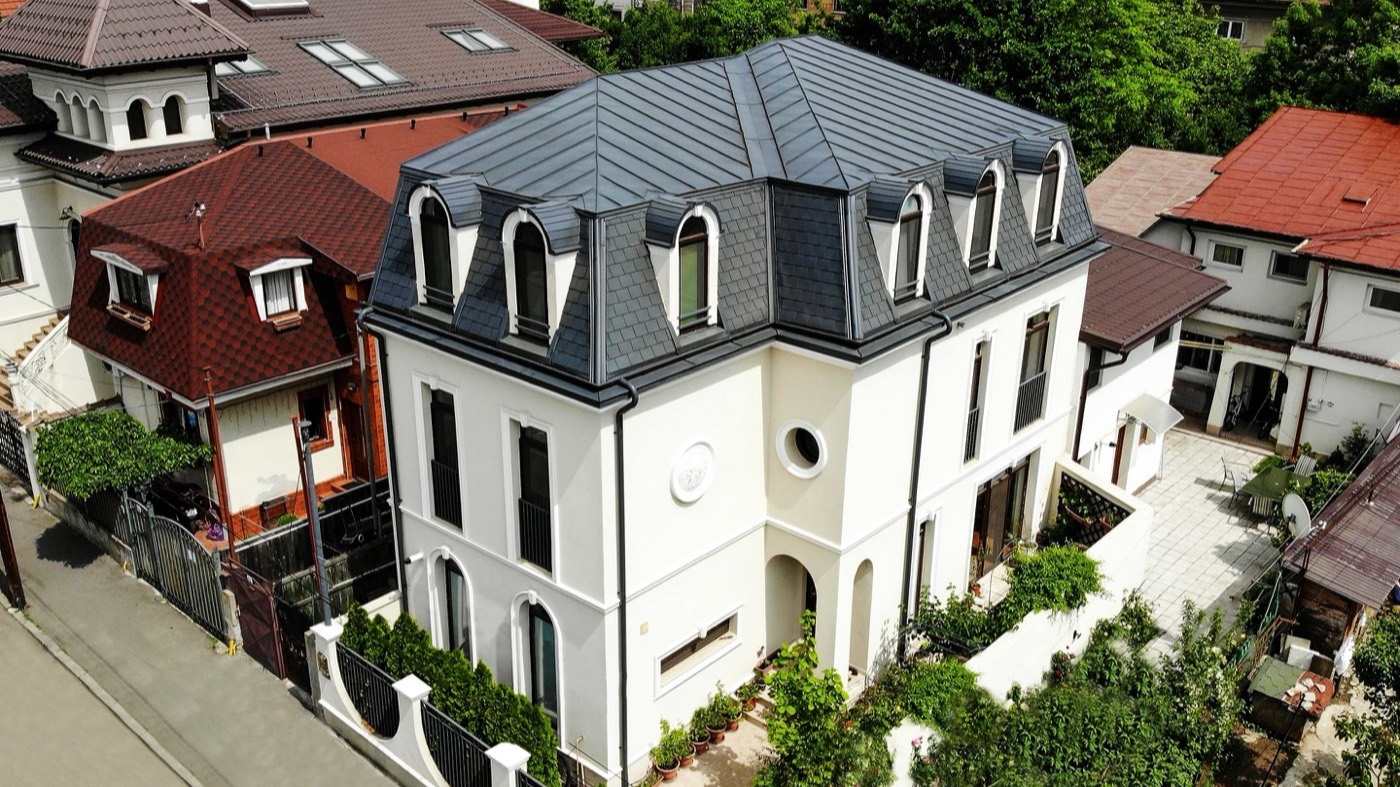
Metal roof · Standing seam
Installing click roofing sheets: ventilated or unventilated build-up, step by step
- Published:
- Author: BRAVO INTERNATIONAL RO
- 3 min read
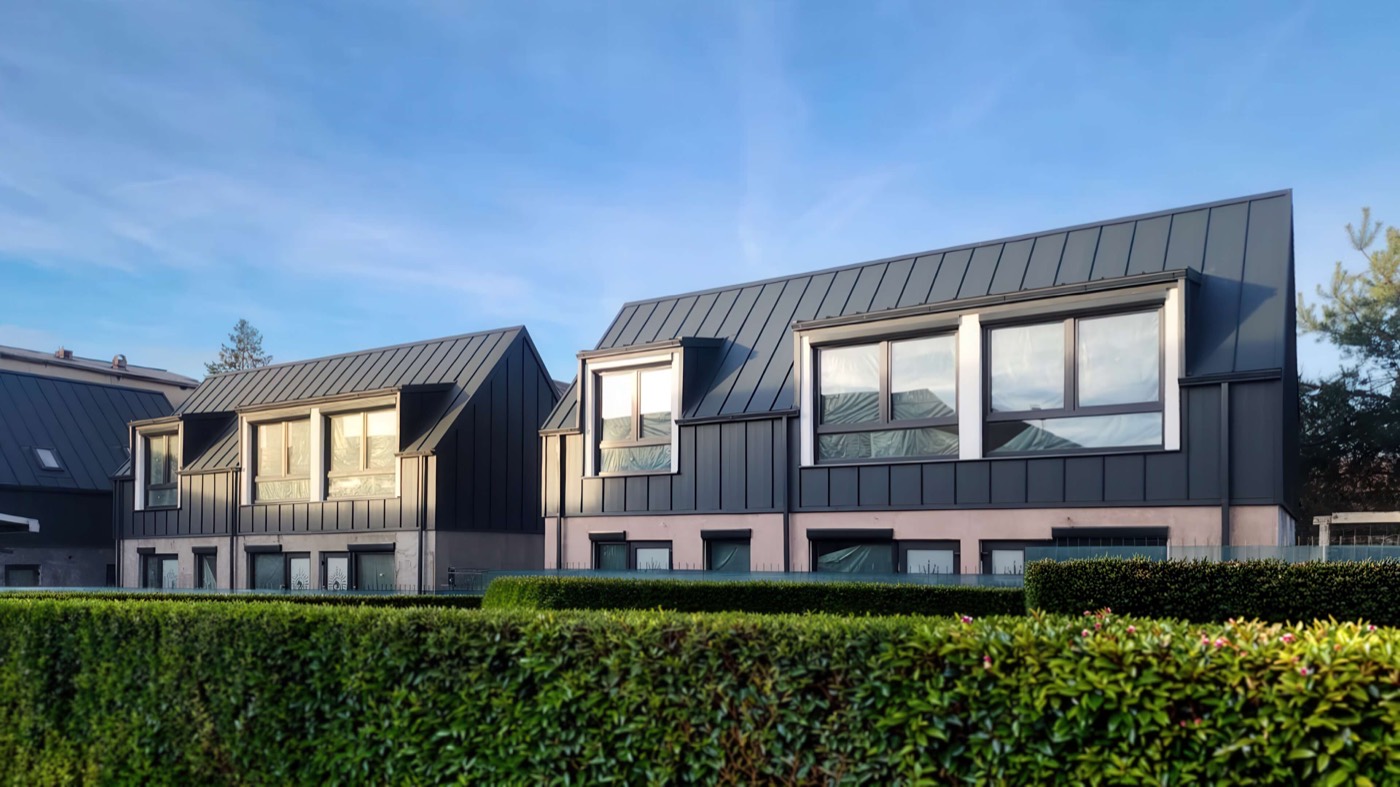
Click roofing sheets are installed on roofs with a pitch of at least 12°, on horizontal battens set every 300 mm. The panels have a cover width of 500 mm and lock into one another, with the screws concealed under the joint. Installation starts from the right-hand side of the roof slope. Below are the BELPROFILE installation principles, one by one.
What to check before installation
- The pitch: at least 12°, that is 21%.
- The length of the panels: BELPROFILE click roofing sheets are made to order, up to 6 m: from 1.5 m for the Flat profile and from 1 m for Stripes and Waves.
- The structure: click roofing sheets are installed on a ventilated structure, the same as metal roof tiles.
Ventilated or unventilated build-up?
In the ventilated build-up the breather membrane is laid first. The vertical battens are nailed over it, with 100 mm nails, then the horizontal battens, every 300 mm, and last the eaves flashing is installed.
In the unventilated build-up, the eaves flashing is installed on the edge of the roof boarding, so that its drip edge passes beyond the edge of the gutter on the house side, and it is aligned along the whole length of the eaves. The anti-condensation membrane is laid over the flashing, at most 10 mm from its edge.
The order of installation
- The gutters and the eaves flashing. The components that collect the water are installed before the panels. The panels have the fold that fixes onto the eaves flashing ready made at the factory, which shortens installation.
- The valley, at the junction of two roof slopes. It is fixed with clips; drilling it is forbidden. On either side of the valley goes the flat hook-in profile, into which the fold of the panels fits.
- The panels. Installation starts from the right of the roof slope. The first panel is aligned with the edge at the eaves and with the gable edge. The panels are fixed to the structure with wood screws.
- The lengthwise overlaps. If the roof slope is longer than the panels, the panels are overlapped. The overlaps are not made in a line: an offset of at least 500 mm is left between adjacent panels.
- The verge trim. It is installed on a timber side fascia board, raised 25 mm above the level of the horizontal battens, and is fixed with 4.8×35 mm self-drilling screws for timber.
- The straight ridge. On either side of the ridge the high hook-in profile is installed, 50 mm from the centre line of the ridge. The ridge goes over the profile, without piercing the panels.
How are snow guards installed on click roofing sheets?
Without drilling the panels. The brackets are tightened onto the seams with screws, and the bars that stop the snow are passed through their holes.
What is it cut with and how is it stored?
The sheet is cut with metal shears, electric or hand; cutting with an angle grinder is strictly forbidden. The filings are removed with a soft brush, and scratches and cut edges are covered locally with touch-up paint. The panels are kept on pallets, in dry, ventilated spaces; outdoors, at most 72 hours, on an inclined surface.
In short
A pitch of at least 12°, horizontal battens at 300 mm, panels from right to left, overlaps offset by at least 500 mm, ridge and snow guards fixed without drilling the panels. The parts the roof needs are in the set of accessories for click roofing sheets. For your project, request a quote: the advice is free.
Blog
Read also
Metal roof · Installation
Minimum pitch for a metal roof: what each type needs
Installation · Gutter System
